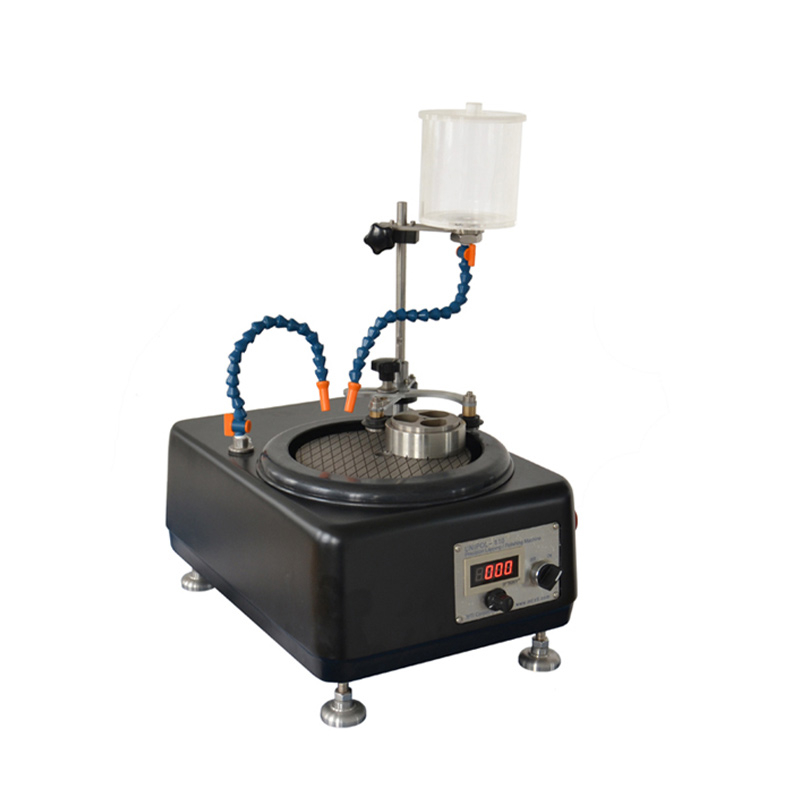
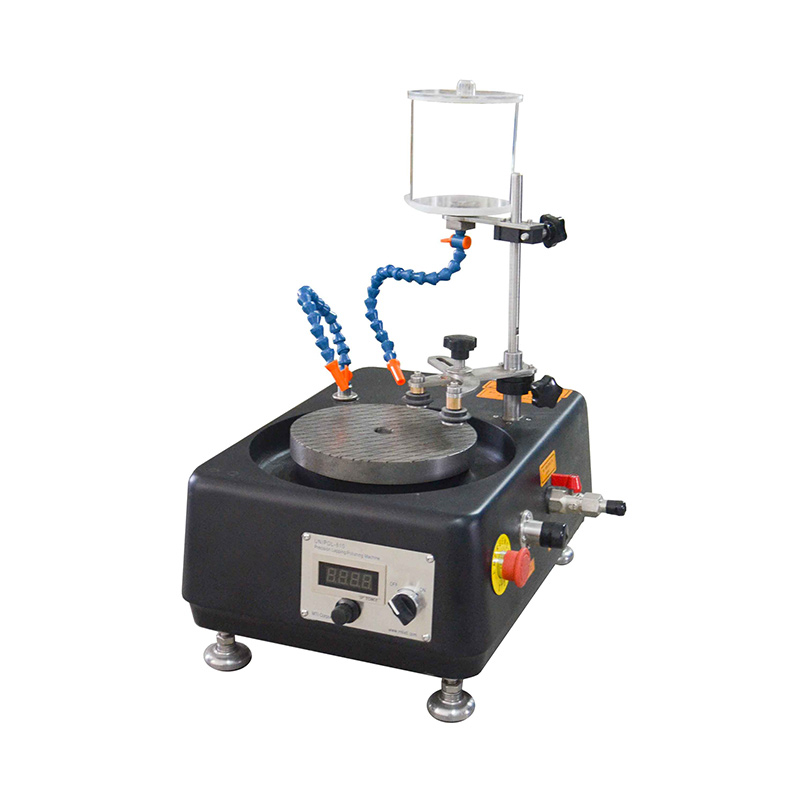
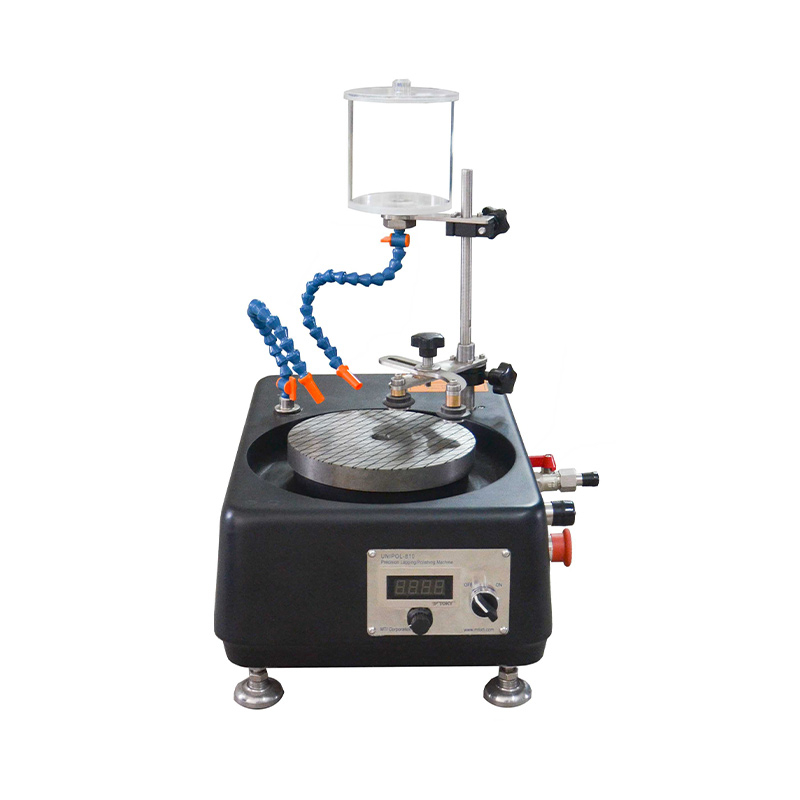
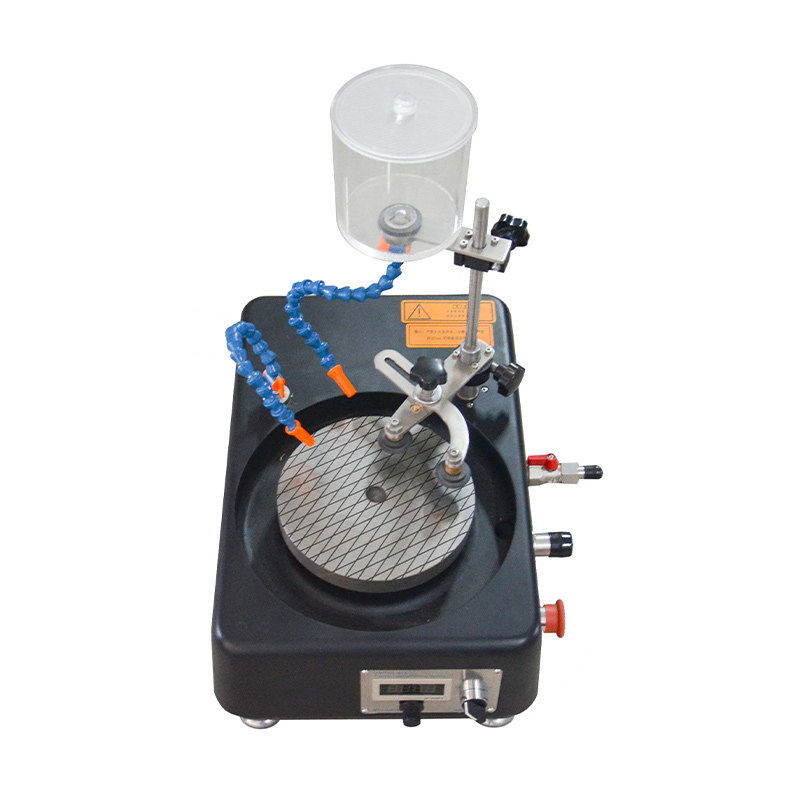
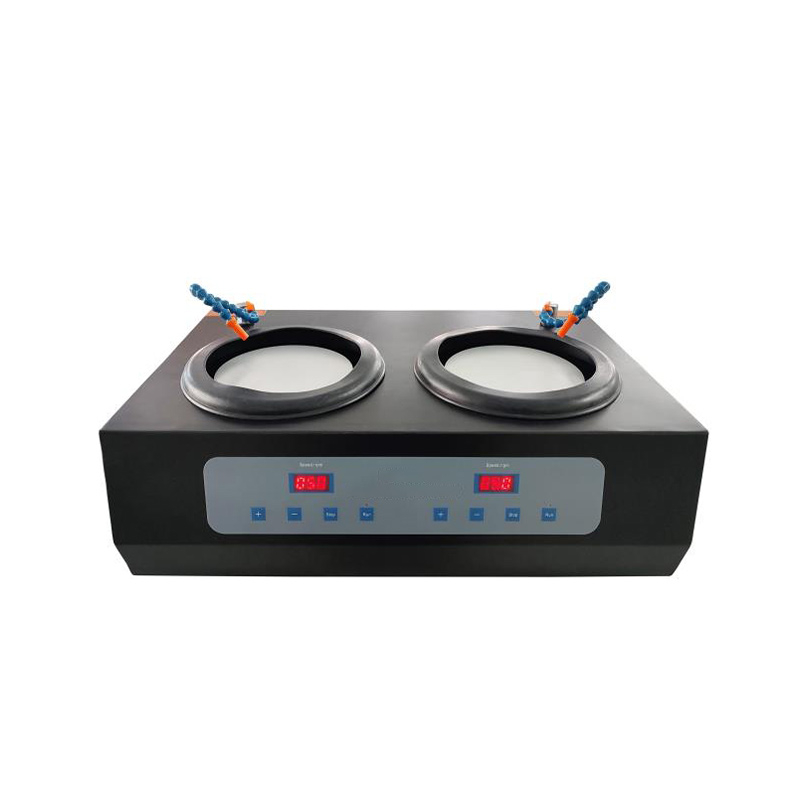
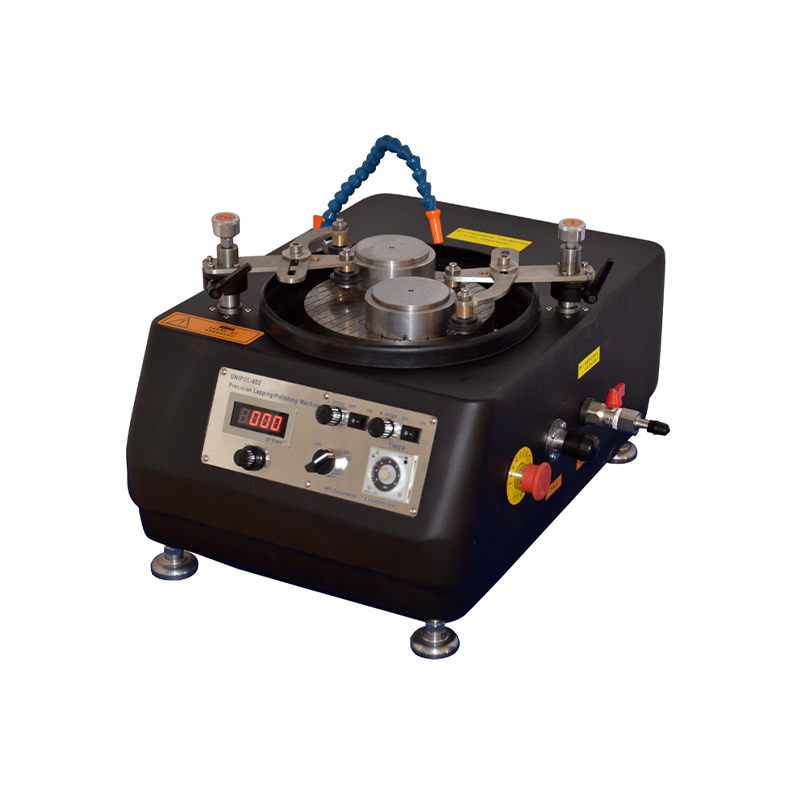
The precision grinding and polishing machine is a device used in the precision machining field, primarily for high-precision grinding and polishing of workpieces to achieve flatness, smoothness, deburring, and oxide layer removal. It is widely used in industries such as electronics, optics, metals, ceramics, glass, and others, particularly for workpieces that require high surface finish and dimensional precision, such as semiconductor materials, optical lenses, hard disk heads, and medical instruments.
Product Overview:
The CY-UNPOL-810 Precision Grinding and Polishing Machine is designed for grinding and polishing crystals, metals, ceramics, glass, rock samples, mineral samples, PCBs, infrared optical materials (such as zinc selenide, zinc sulfide, silicon, germanium crystals), refractory materials, composite materials, and seals, including optical components, compound semiconductor substrates, ceramic substrates, sapphire, yttrium vanadate, lithium niobate, and gallium arsenide. The machine is equipped with a pear-shaped hole sample holder, which makes it more convenient for grinding and polishing embedded or circular metallographic samples. The CY-UNPOL-810 can be used for both manual grinding and polishing or automated grinding and polishing controlled by a robotic arm. The direction of the sample remains unchanged during the process, making it a versatile grinding and polishing tool. The machine can grind samples using grinding discs with abrasives or use polishing discs with adhesive-backed sandpaper. The sandpaper or polishing pad is attached using magnetic force, making it easy to mount and dismount. The choice of grinding with sandpaper or abrasives can be based on the material of the sample being processed.
Product Features:
High Temperature Control: Equipped with a precise temperature control system to ensure the stability of the temperature during the process.
Atmosphere Control: Capable of operating under vacuum or specific atmospheres (such as inert gases, oxygen, etc.) to prevent oxidation or the influence of other gases on the process.
Multi-stage Heating: The multi-stage heating system ensures uniformity and controllability of the temperature gradient for optimal results.
Thermal Insulation: Made with high-quality insulating materials to reduce heat loss and improve the uniformity of the furnace temperature.
Purchase Information:
If you are interested in our precision grinding and polishing machine, please feel free to contact us for more information and a quote.
Phone: +86 18516380382
Email: Jimmy@cysitech.com
Contact Person: Jimmy Hao
WeChat: +86 18516380382
WhatsApp: +86 13939946898
Technical Parameter:
Parameter name | Parameter description |
Product name | Precision grinding and polishing machine |
Product model | CY-UNPOL-810 |
Total power | 175W |
Working voltage | AC110/220V, 50/60Hz |
Grinding and polishing disc diameter | Φ203mm |
Flat plate sample plate diameter | Φ80mm |
Peach-shaped hole sample plate diameter | Φ80mm, peach-shaped inner hole 3*Φ26mm |
Number of workstations (positioning robot arm) | 1 station |
Drip barrel volume | 1L |
Spindle drive motor | DC110V, 165W |
Grinding disc speed | 20-600rpm (stepless speed regulation) |
Control method | Manual knob speed regulation |
Product size | 450*500*600mm (LWH) |
Main components:
Part name | Component Description |
Spindle | The core component that drives the grinding or polishing disc to rotate. The accuracy directly affects the stability of the surface quality of the machined surface |
Grinding disc/polishing disc | Carrying grinding or polishing media |
Carrying disc | Fixed samples |
Grinding liquid/polishing liquid supply system | Used for cooling, lubrication, cleaning and helping to remove waste chips generated during the grinding process |
Random accessories | Grinding disc, polishing disc, carrier disc, grinding powder, paraffin stick |
User manual | Standard |
Application Fields:
Electronics Industry: Used for processing chips, semiconductor materials, disks, hard drives, etc., to improve surface quality.
Optical Industry: Used for surface processing of optical elements like lenses and optical components to enhance optical performance.
Jewelry and Watch Industry: Used for precision polishing of metals, gemstones, etc., to enhance their appearance and shine.
Automotive and Aerospace: Used for surface treatment of metal parts such as engine components and turbine blades to improve part performance.
Medical Devices: Used for precision polishing of medical instruments to ensure compliance with hygiene and usage standards.
Application Case: 《Using the Precision Grinding and Polishing Machine to Grind and Polish Ceramic Substrates》
Process Steps:
1. Pre-treatment (Remove Surface Dirt and Contaminants)
Objective: Clean the surface of the ceramic substrate, removing oils, dust, contaminants, or any substances that could affect the grinding and polishing process.
Steps:
Clean the substrate surface with a cleaning agent (such as ethanol or acetone).
Use ultrasonic cleaning equipment for thorough cleaning.
Rinse with deionized water and wipe with non-woven or soft cloth to avoid leaving water marks.
2. Coarse Grinding Stage (Remove Larger Materials)
Objective: Remove larger defects and uneven areas on the ceramic substrate's surface, flatten the surface, and reduce roughness.
Steps:
Select the appropriate grinding disc and grinding liquid: Use coarser grinding discs (such as 200-800 grit) along with water-based grinding liquid or diamond grinding liquid.
Set grinding parameters: Adjust the spindle speed and worktable pressure, usually requiring higher pressure to remove more material.
Perform coarse grinding: Place the ceramic substrate on the worktable and grind it with the grinding disc. This process removes most of the rough material, scratches, and uneven regions on the surface.
3. Intermediate Grinding Stage (Fine Grinding)
Objective: Further reduce the roughness of the ceramic substrate's surface, perform fine grinding, and prepare the surface for polishing.
Steps:
Select finer grinding discs and grinding liquids: Use finer discs (such as 1000-2000 grit) and fine-particle diamond or alumina grinding liquids.
Adjust grinding parameters: Adjust the worktable pressure and grinding disc speed to ensure even material removal.
Perform fine grinding: Continue grinding the ceramic substrate under moderate pressure to further remove surface irregularities and flatten the surface.
4. Polishing Stage (Enhance Surface Finish)
Objective: Improve the surface finish of the ceramic substrate to achieve a mirror-like effect and reduce surface roughness.
Steps:
Select polishing disc and polishing liquid: Use soft polishing discs (such as fabric or sponge) and specialized polishing liquids (such as alumina or silica) for surface polishing.
Set polishing parameters: Adjust the polishing machine's speed, pressure, and liquid supply. At this stage, lower pressure and higher speed are needed to reduce surface scratches and achieve a smooth surface.
Perform polishing: During polishing, use lower pressure and appropriate speed to achieve a mirror-like surface on the ceramic substrate.
Note: To prevent material deformation or cracking due to excessive heat, intermittent cooling may be necessary, using cooling fluids or air flow to cool the ceramic substrate.
5. Cleaning and Drying
Objective: Remove any residual polishing liquid, waste material, or contaminants from the surface to ensure the workpiece is clean and undamaged.
Steps:
Rinse the ceramic substrate with deionized water to remove all polishing liquid and waste.
Use compressed air to dry the substrate, or place the ceramic substrate in an oven for low-temperature drying to ensure the surface is clean and free of watermarks.
6. Inspection and Quality Control
Objective: Ensure that the surface of the ceramic substrate meets the desired precision and quality standards.
Steps:
Inspect the surface quality using optical microscopes, surface roughness instruments, etc., to ensure there are no scratches, cracks, or other defects.
Check the surface finish and geometry to confirm that they meet the design requirements.
If necessary, surface roughness measurements (e.g., Ra values) can be used for precise control.

